6. Screens#
6.1. Screens and screen list#
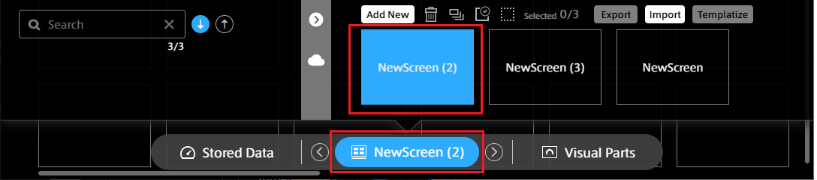
A list of screens is displayed. You can create, manage, and switch screens from the list.

 Operation menu for local screens
-
- Add New
Creates a new local screen. For details, see Creating screens.

Deletes the selected local screen. For details, see Deleting screens.

Copies the selected local screen.

Selects all the local screens.

Deselects the local screens.
 Sharing function menu
[Templatize]: See Sharing screen: Template.
[Export], [Import]: See Sharing screen: Export, Import.
 Button to show/hide templates
 Template screens
For details, see Sharing screen: Template.
 Local screens
For details, see Displaying screens and Creating screens.
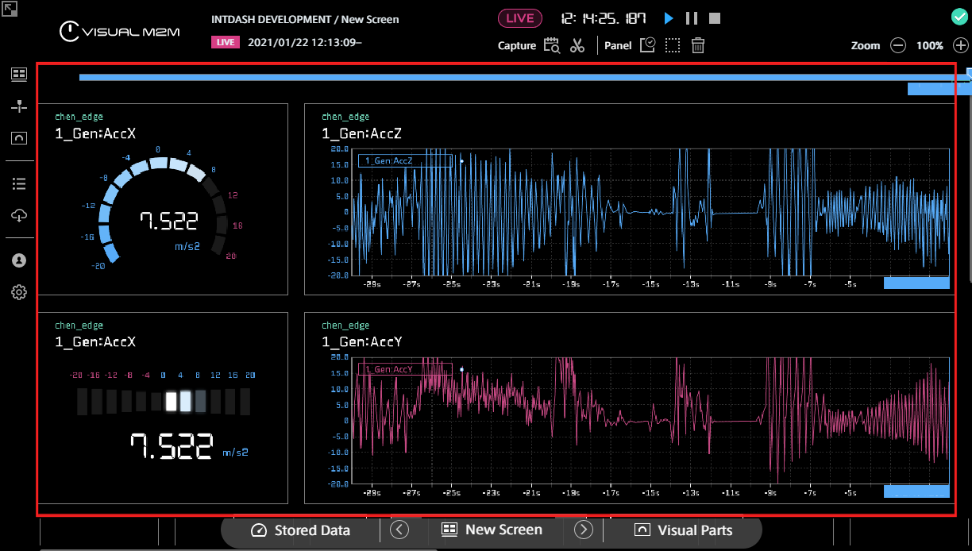
6.2. Displaying screens#
Click the screen selection button in the content menu, and then select one of the screens displayed in the local screen list.
6.3. Changing displayed screens#
You can directly select a screen to be displayed as described in Displaying screens.
You can also change the displayed screen to the previous or next screen by selecting the [<] and [>] buttons at both ends of the screen selection button.

6.4. Creating screens#
Selecting the [Add New] button in the screen list will display a blank screen.

Place visual parts and data you want to use on the screen panel (data binding).
For details about how to bind data to screen panels, see Bind data to panel.
Note
Local screens are managed for each client PC. When using another client PC, you need to create screens again. If you want to reuse screens, use Sharing screen: Template , or Sharing screen: Export, Import.
6.5. Deleting screens#
Mouse over the screen to be deleted and select the displayed ![]() button.
button.
Select ![]() , and then click the [OK] button in the confirmation dialog box.
, and then click the [OK] button in the confirmation dialog box.

6.6. Changing the screen settings#
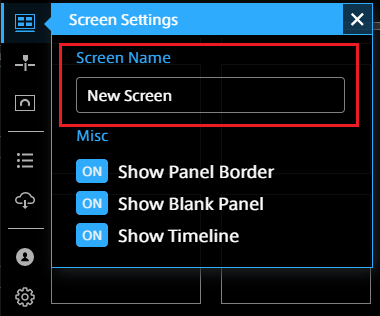
You can change the settings of the displayed screen.
Select ![]() (Screen Settings) from the function menu.
(Screen Settings) from the function menu.
6.6.1. Changing the screen name#
Enter the desired name in the [Screen Name] text box.
6.6.2. Changing the display of the screen panels#
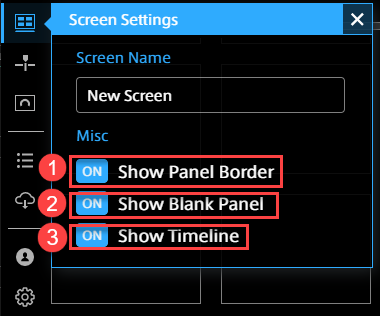
- Show Panel Border
Show or hide the panel border.
- Show Blank Panel
Show or hide blank panels.
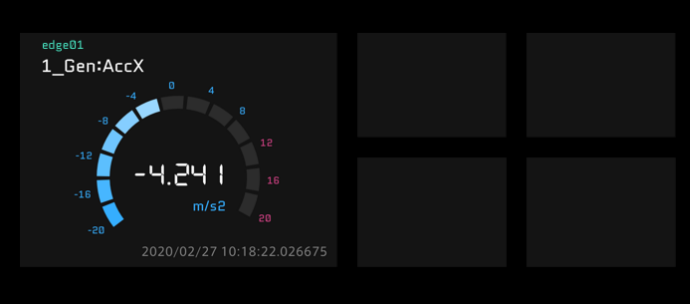
- Show Panel Border: ON and Show Blank Panel: ON
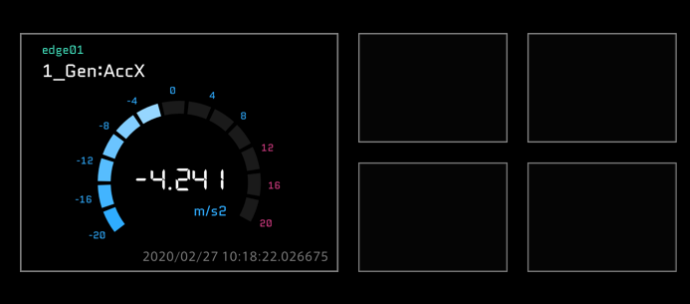
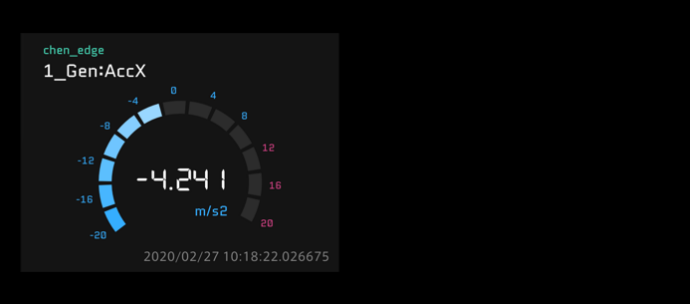
- Show Panel Border: OFF and Show Blank Panel: ON
- Show Panel Border: ON and Show Blank Panel: OFF

- Show Panel Border: OFF and Show Blank Panel: OFF
- Show Timeline
Show or hide the timeline.
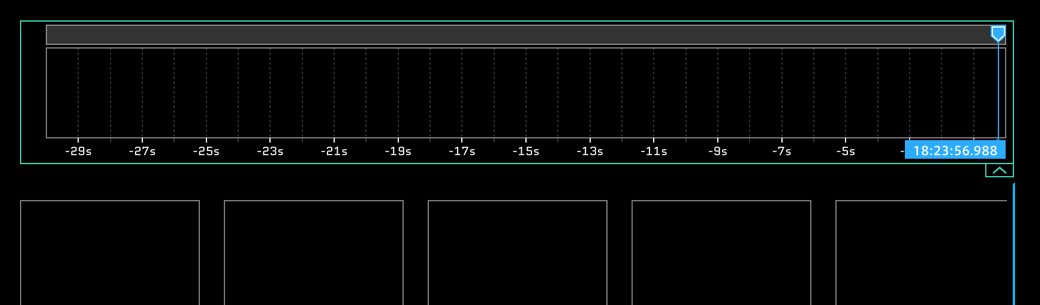
- Show Timeline: ON
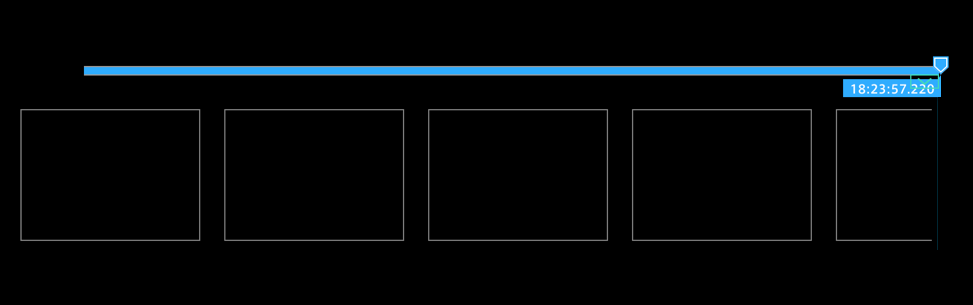
- Show Timeline: OFF
6.7. Sharing screen: Template#
6.7.1. Screens#
You need to create a screen to display measurement data.
A screen means a single window that displays all the panels.
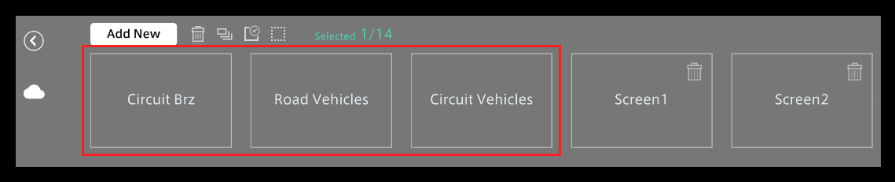
6.7.2. Using templates#
You can use screen templates managed by the server for each domain.
Click the screen selection button in the content menu and click ![]() .
.

Select a template you want to use. The template will be added to the end of the local screen list.

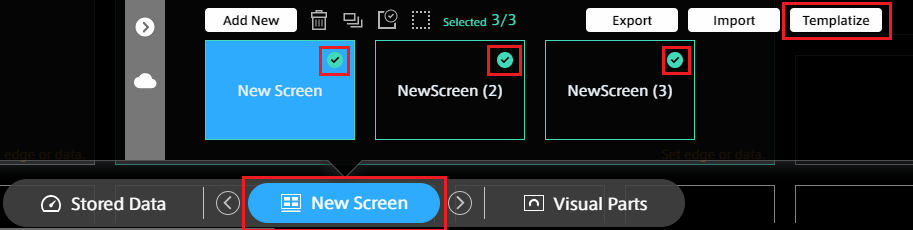
6.7.3. Creating and sharing templates#
Templates created by users in the same domain can be shared.
Open the screen menu, select the ![]() button of the screen to be shared, and then click the [Templatize] button.
button of the screen to be shared, and then click the [Templatize] button.
* Multiple screens can be selected.
You can check the templates in the template list by selecting the ![]() button.
button.
6.7.4. Deleting templates#
You can delete created templates. Select ![]() in the template, and then click the [OK] button in the confirmation dialog box.
in the template, and then click the [OK] button in the confirmation dialog box.

Note
About template deletion
You can delete templates created by other accounts in the same domain.
Templates that have been deleted cannot be restored.
To use the same template as the deleted one, you need to recreate it.
The default templates (which have no
icon) cannot be deleted.
6.8. Sharing screen: Export, Import#
Screens can be shared by local PCs.
Export the screen and save it locally on the PC, and then import the screen to another PC.
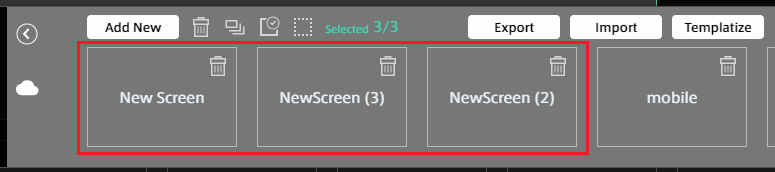
6.8.1. Export#
Mouse over the local screen to be shared, select the displayed ![]() button, and then click the [Export] button. Multiple screens can be selected.
button, and then click the [Export] button. Multiple screens can be selected.
The screen definition file (.scrn) is stored in the local PC.

6.8.2. Import#
Click the [Import] button.
Select the screen definition file (.scrn) from the file explorer, and then click [Open].
