8. Bind data to panel#
Data binding is the arrangement of data displayed on the panels of a screen.
8.1. Panel configuration#
A panel is an area where visual parts are displayed. You can set visual parts individually and change their display size.
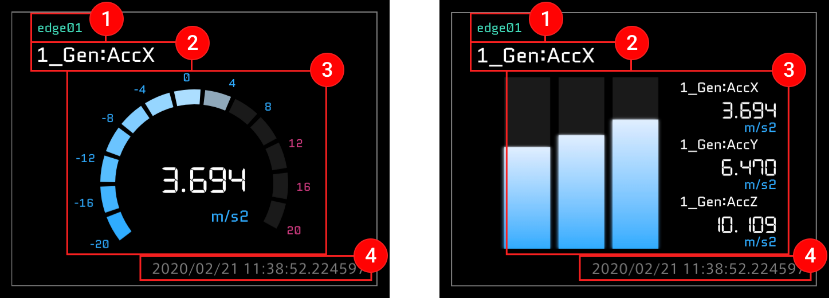
 Edge Name
The name of the edge bound to the panel.
 Panel Name
The name of the panel. If this is not set, the first bound data name is displayed.
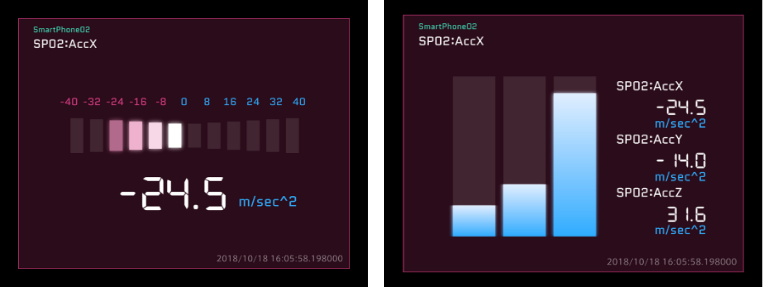
 Display Area
An area to display the set visual part and the numerical values of the data. The display format differs depending on the visual part type.
 Timestamp
The time of data acquisition is displayed.
8.2. Data binding#
8.2.1. Creating panels#
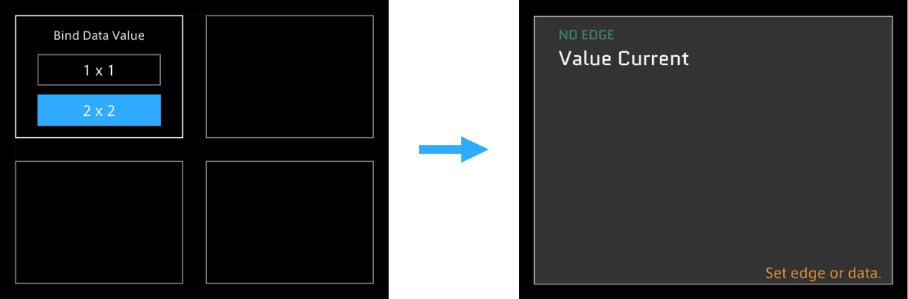
Select the panel you want to create on the screen panel, and then select [1x1] or [2x2].
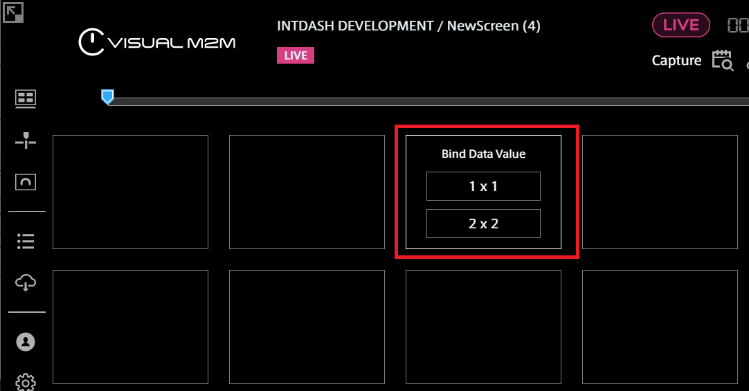
In the following example, [2x2] is selectable.
The following two images show two examples in which a "2x2" panel cannot be created.
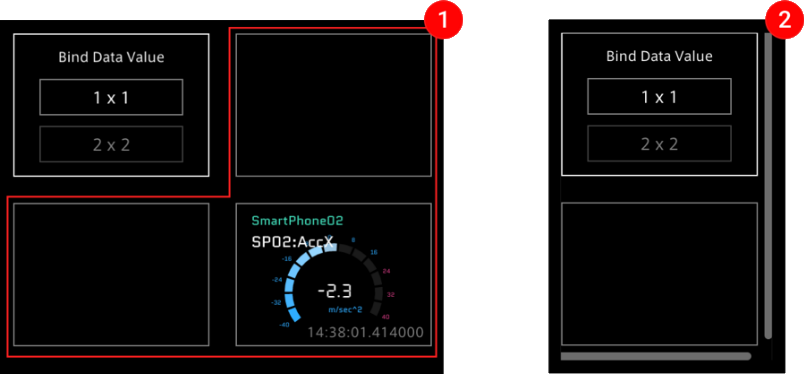
If another panel has been set in the required space
If there is no space for the right edge or last line of the window
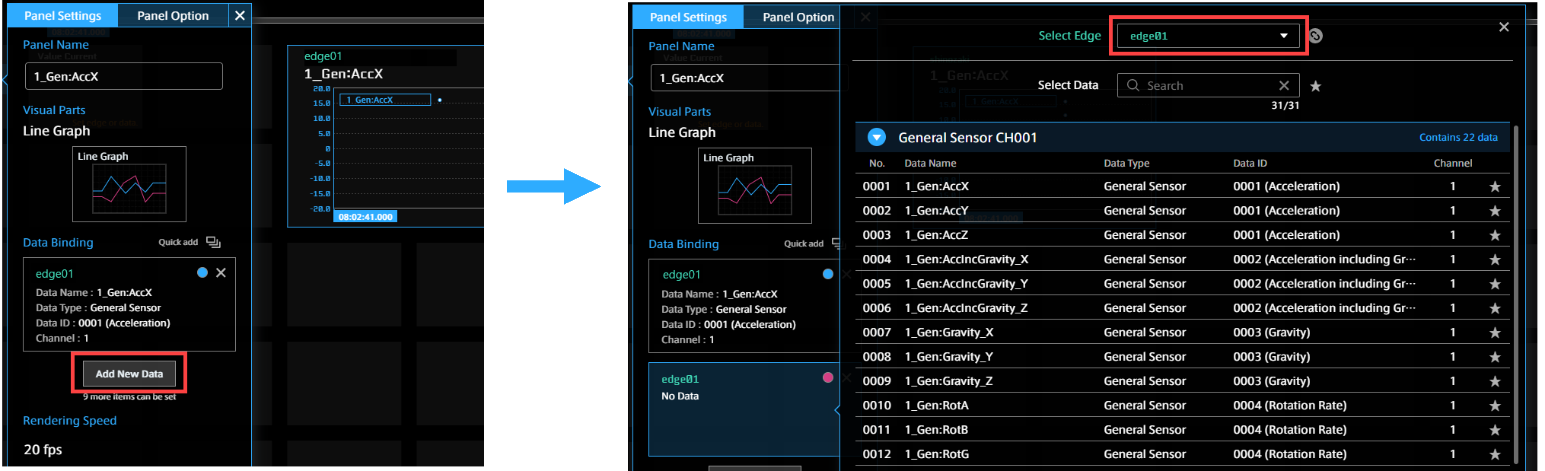
Click [Bind Data] in Panel Settings.
Click [Select Edge] from the displayed window and select the edge from the list.
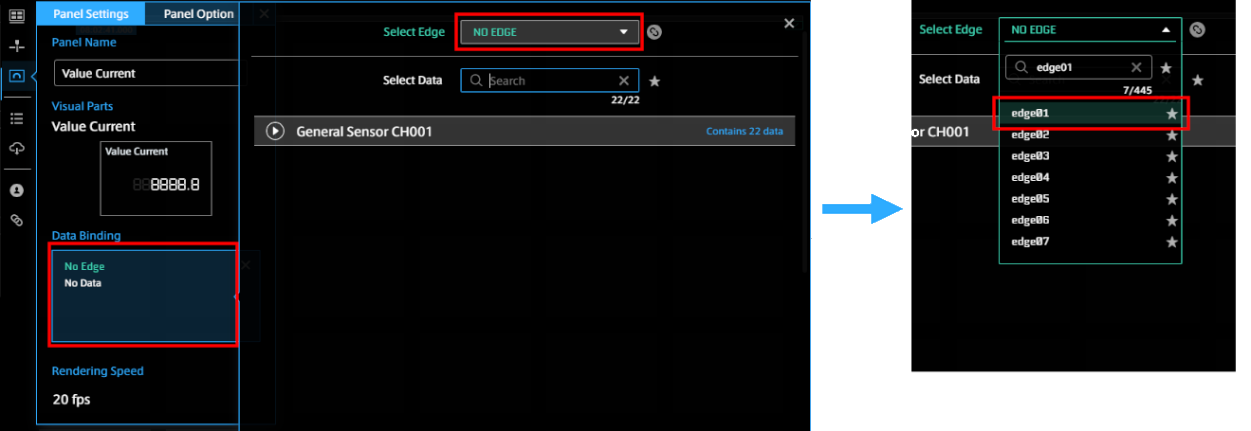
After the edge is set, select the data from the Select Data list.
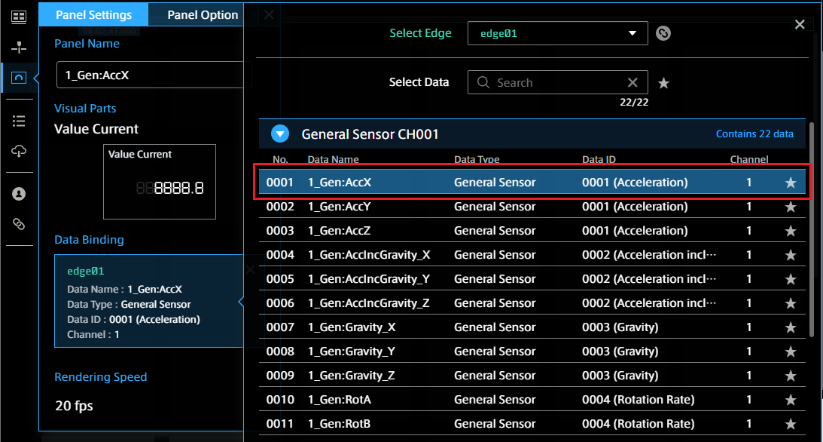
Once the edge and the data have been set, click [x] to close the window.
Click [x] to close the Panel Settings window.
8.2.2. Setting visual parts#
Next, set visual parts.
Method 1: Click the [Visual Parts] button in Panel Settings, and then select one from the Visual Parts list.
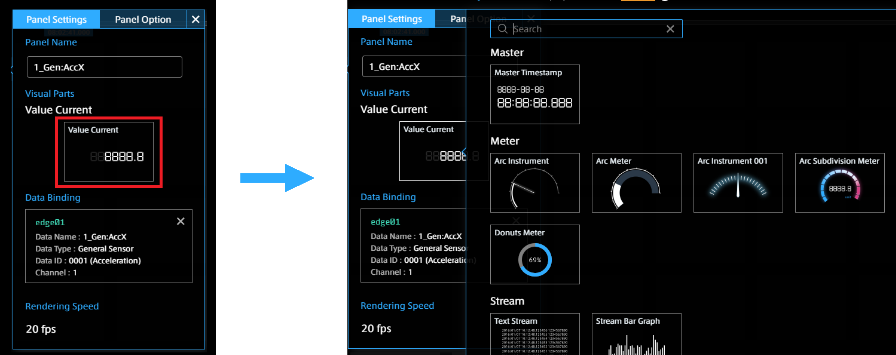
Method 2: Click [Visual Parts] from the content menu. Select a visual part from the Visual Parts list and drag and drop it on the target panel.

Note
Bind data after placing visual parts
You can also bind data directly from Visual Parts to a blank screen panel.
Click [Visual Parts] from the content menu.
Select the visual part you want to set from the list, and then drag and drop it on the screen panel.
Select Panel Name, set the items displayed on the Panel Settings window, and then set the edge and data.
Note
Searching and filtering visual parts
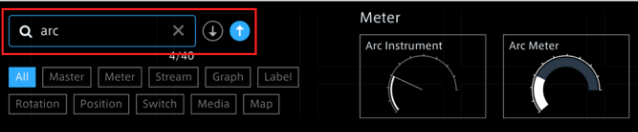
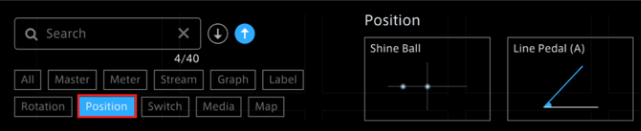
Visual parts can be searched by using the search form or filtering by category.
Searching by name
Searching by category
Note
Data associated with edges
If data is associated with an edge, only the data associated with the selected edge will be displayed. To display all data, click
 .
.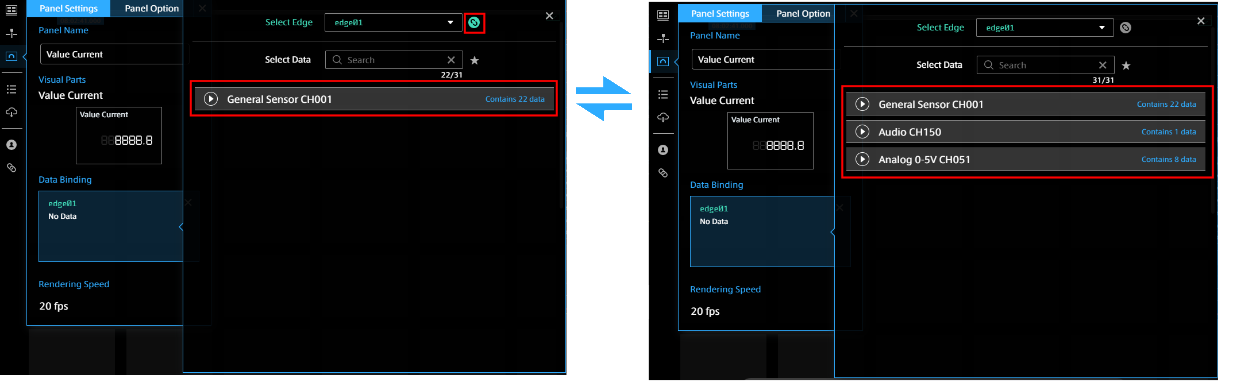
Click
again to return to the list of associated data only.
8.3. Changing the panel settings#
Click the upper left area of the panel to set the items on the Panel Settings window.
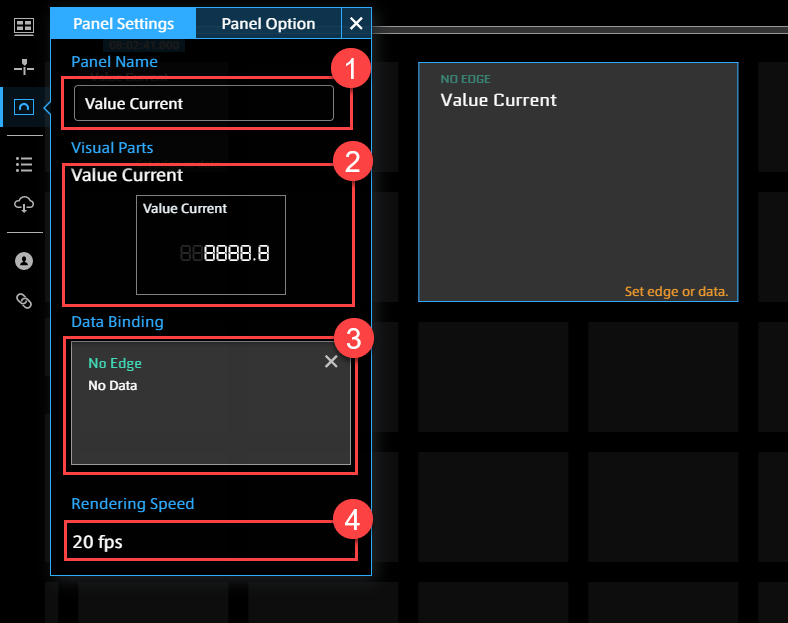
- Panel Name
Enter the name to be displayed on the panel. If this is left blank, the data name is displayed.
- Visual Parts
Select a visual part.
- Bind Data
Select an edge to be used as a data source and select data.
- Rendering Speed
You can change the interval at which the parts on each panel are drawn. Reducing rendering speed should reduce the burden on the PC.
8.4. Setting multiple pieces of data#
Depending on the visual parts, multiple pieces of data can be displayed simultaneously. The maximum number of data pieces that can be bound differs depending on visual parts.
Click Panel Name of the panel for which you want to set multiple pieces of data.
Click the [Add New Data] button from Panel Settings, and then set the measurement data.
To close the Panel Settings window, select [x] on the Panel Settings window or select anywhere outside the Panel Settings window.
8.4.1. Successive setting of Bind Data#
Visual parts that can display multiple pieces of measurement data can bind data successively.
Click [Panel Name].
You can use [Quick add] to select multiple pieces of data successively with the data and edge selection window opened.

8.4.2. About data sorting#
You can sort data by a drag-and-drop operation.
Replacement (Drop the target on the card)
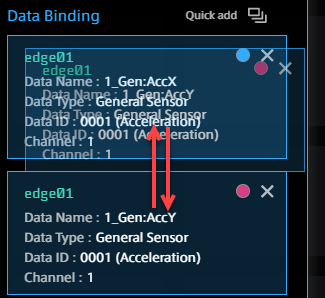
Insertion (Drop the target in the gap between the cards)
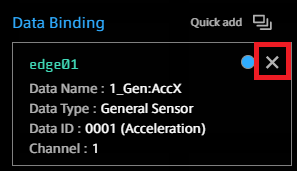
Note
To delete the added Bind Data
In the "Bind Data" items of Panel Setting, mouse over the data of the bind data you want to delete, and then select [x].
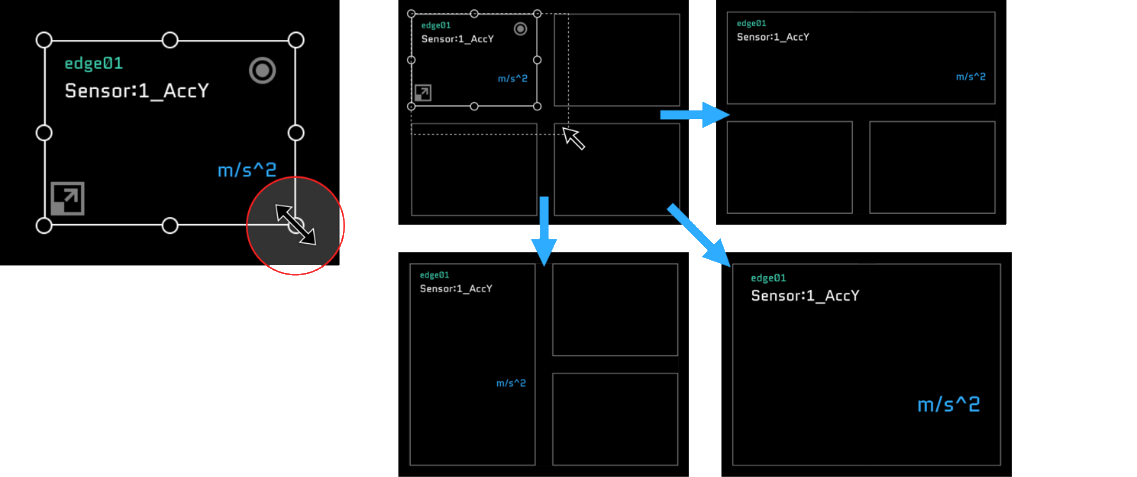
8.5. Changing the panel size#
You can change the panel size by dragging the guide points on the edges displayed when you mouse over the panel.
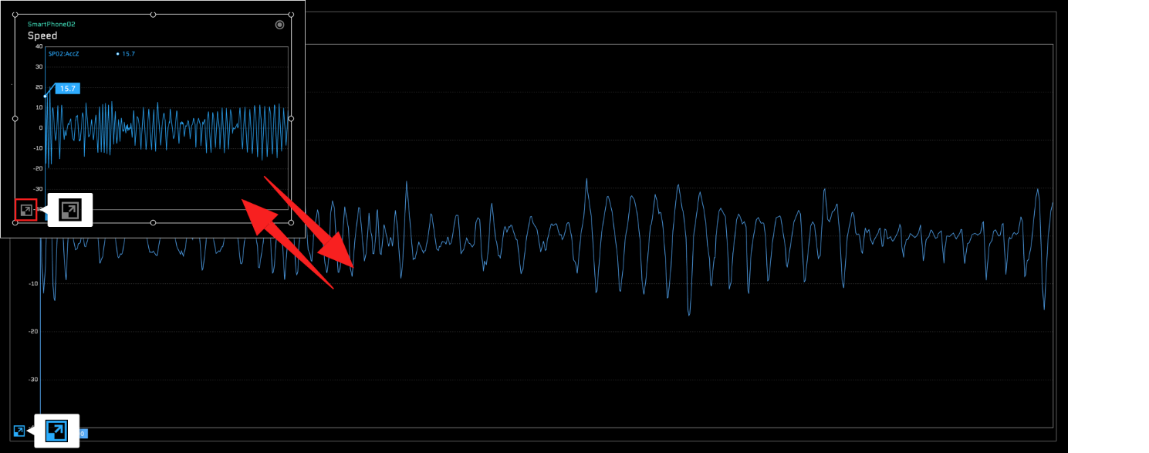
8.6. Switching the panel to full-screen display#
You can enlarge or reduce the panel by pressing the ![]() button at the bottom left of the panel.
button at the bottom left of the panel.
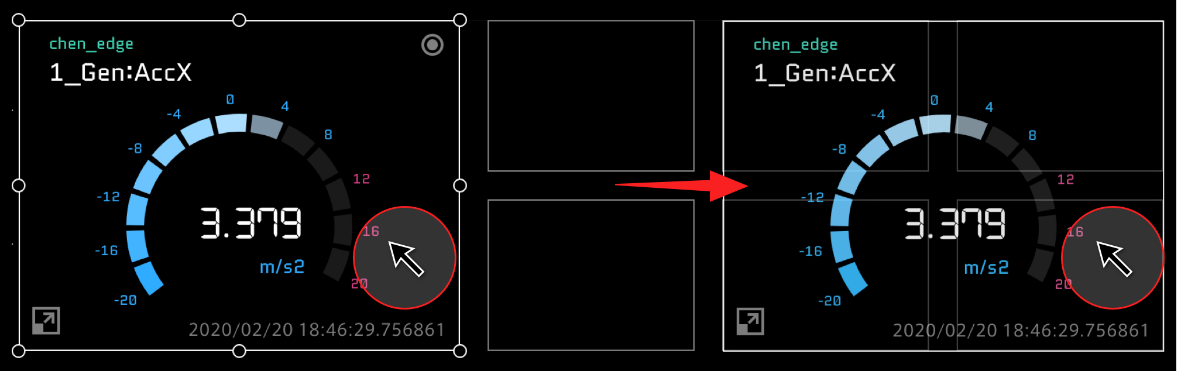
8.7. Changing the panel position#
You can change the position of the panel by dragging and dropping the panel to a blank panel on the screen.
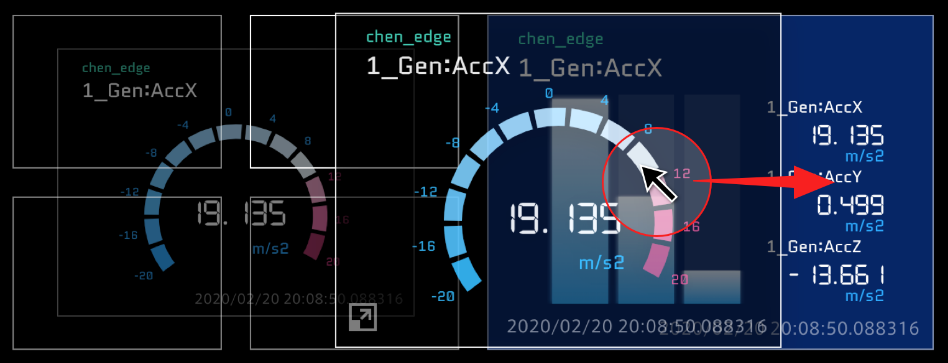
8.8. Replacing panels#
You can replace panels by dragging and dropping a panel to an already set panel.
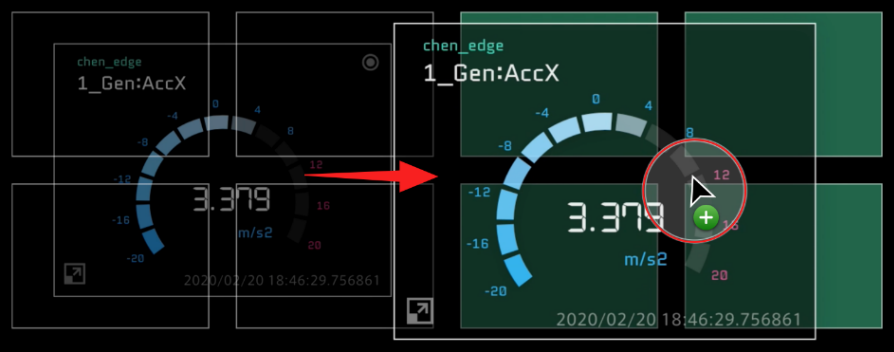
8.9. Copying panels#
Drag and drop a panel while holding down the Alt key (the option key for Mac). The set data and option settings are all copied.
8.10. Deleting panels#
Select ![]() (Select All Panel) in the panel operation tool, and then select
(Select All Panel) in the panel operation tool, and then select ![]() (Delete Panel).
(Delete Panel).
8.10.1. Deleting individual data binds#
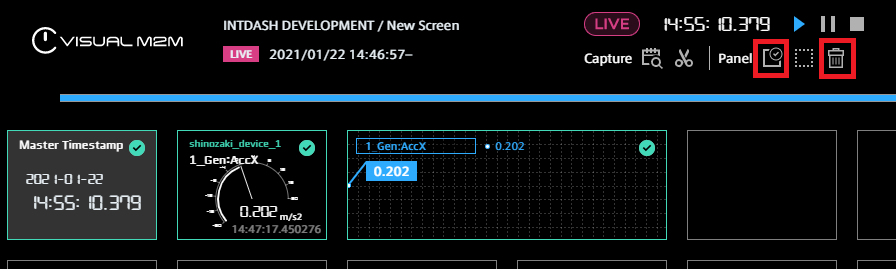
Mouse over the panel you want to delete, and then select the displayed ![]() .
.
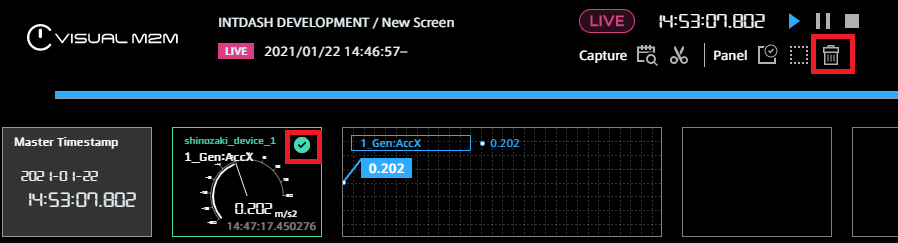
Select ![]() (Delete Panel) in the panel operation tool.
(Delete Panel) in the panel operation tool.
Note
Selecting panels within a rectangle
You can select an area of panels by clicking the mouse between panels (or on a blank panel), and then dragging it to create a rectangular selection area. All panels within the rectangle will be selected.
8.11. Change edges set in timeline and panels at once#
The data source edges set in the timeline and panels can be changed at once.
Click
 (Replace Edge) in the Panel Operation Tool.
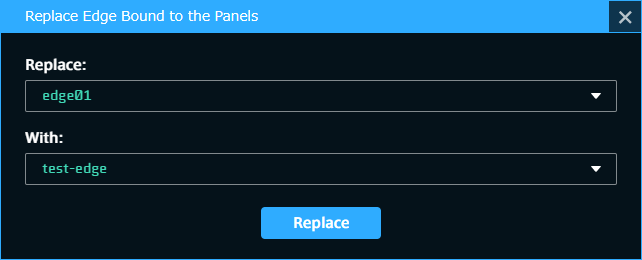
Select the edge name to be replaced (Replace:) and the new edge name to be set (With:), and click [Replace].
In the following example, the timeline and all panels displaying "edge01" data will be changed to display "test-edge" data.
8.12. Error display#
8.12.1. Errors in panels#
When an error occurs at the panel, a message appears on the panel.
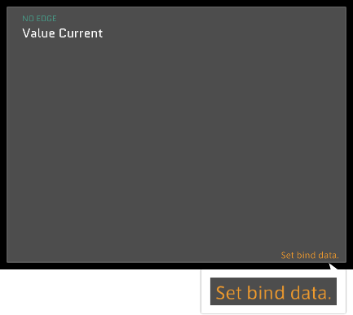
- Set bind data
Data is not bound. Please bind data.
- Set edge or data
Edge or Data is not set, please set Edge and Data.
- Data not loaded yet
Data not loaded. Please load the data again.
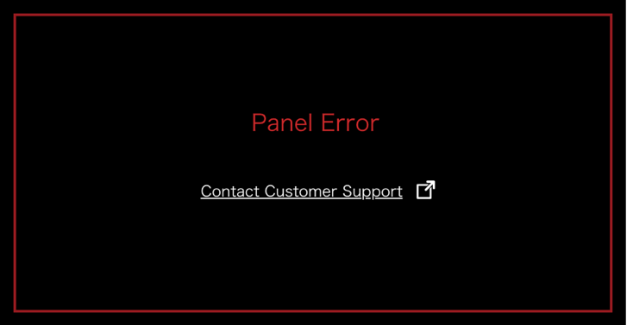
- Panel Error
Data in an unexpected format has been Bind. Please contact Customer Support.
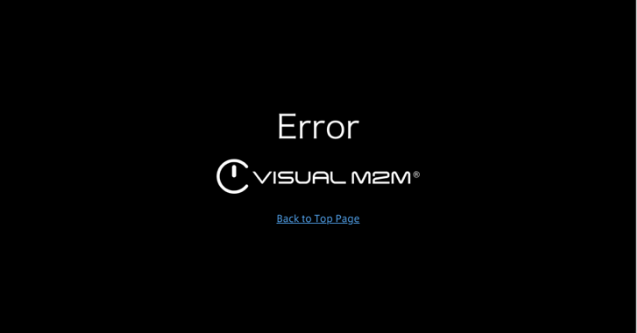
8.12.2. Full-screen errors#
When an error occurs that cannot be processed by a visual part alone or by certain configurations of visual parts, or if the error affects the screen only, the error will be displayed full-screen.
8.12.3. Full-browser error#
If the error affects the entire program, the entire browser will display an error message.
8.13. Display of data exceeding threshold values#
If the data itself exceeds the set thresholds, a threshold error will be displayed on the panel. If multiple data items are being tracked, an error will be displayed even if the threshold for only one of the items has been exceeded.
* This function does not support line graphs.