3. Terminal System Quick Start - Setup from the configuration PC#
Terminal System v1.23.0
In this chapter, we will configure the most basic settings of the Terminal System. There are three main settings.
Network settings
Settings for connecting to the intdash server
Settings for data acquisition from devices connected to the Terminal System
Once these settings are complete and you connect the required external device, you can start acquiring data.
Before starting the configuration, please have the following information ready.
Information about the network to connect to the intdash server (eg. APN and authentication method when using cellular connection)
URL of the intdash server (example:
https://example.intdash.jp)Edge UUID (Edge account UUID assigned to this Terminal System, eg.
f90f2b42-66a5-4a57-8e99-468c36ebb6f2)Client secret (The client secret of the edge account above. Example:
sEh9ZHPoKX8QYU...iBn5fneFM)
3.1. Connect the Terminal System and the configuration PC with a LAN cable#
To access the Terminal System from the configuration PC, connect the configuration PC and the Terminal System with a LAN cable.
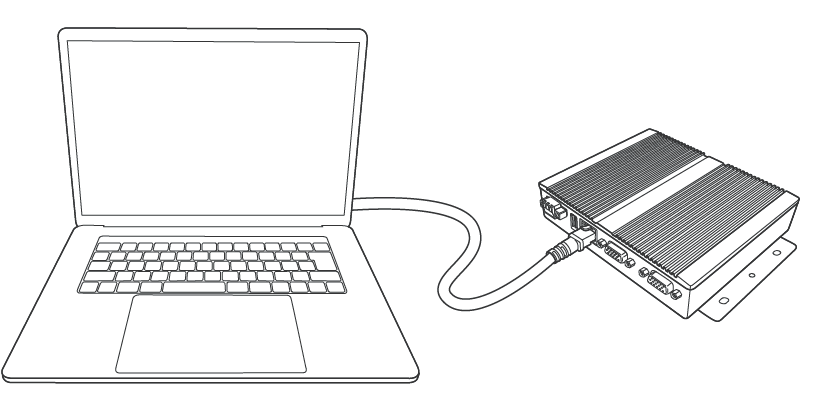
Fig. 58 Connect the configuration PC and the Terminal System#
Note
In the figure above, the Terminal System and the configuration PC are directly connected, but you can also connect the Terminal System and the configuration PC to the same local network.
3.2. Open the Terminal System settings window in a web browser#
Attention
In order to connect to the Terminal System, the configuration PC must have the following settings.
Windows 10: IPv6 must be enabled.
macOS: IPv6 setting must be set to "Link-local only".
In the address bar of the web browser on the configuration PC, type
http://<Terminal System computer name>.local/config/(default setting ishttp://terminal-system.local/config/) and press Enter.The authentication dialog opens. Enter the user name and password (default user name
user, passworduser) to access the settings screen.Note
The user name and password used here is the one for the Terminal System settings screen, which is different from the user name and password for intdash sign in.
See Change the password to access the settings screen ([Basic Auth]). for changing the password.
The top screen (dashboard) of the Terminal System will be displayed.
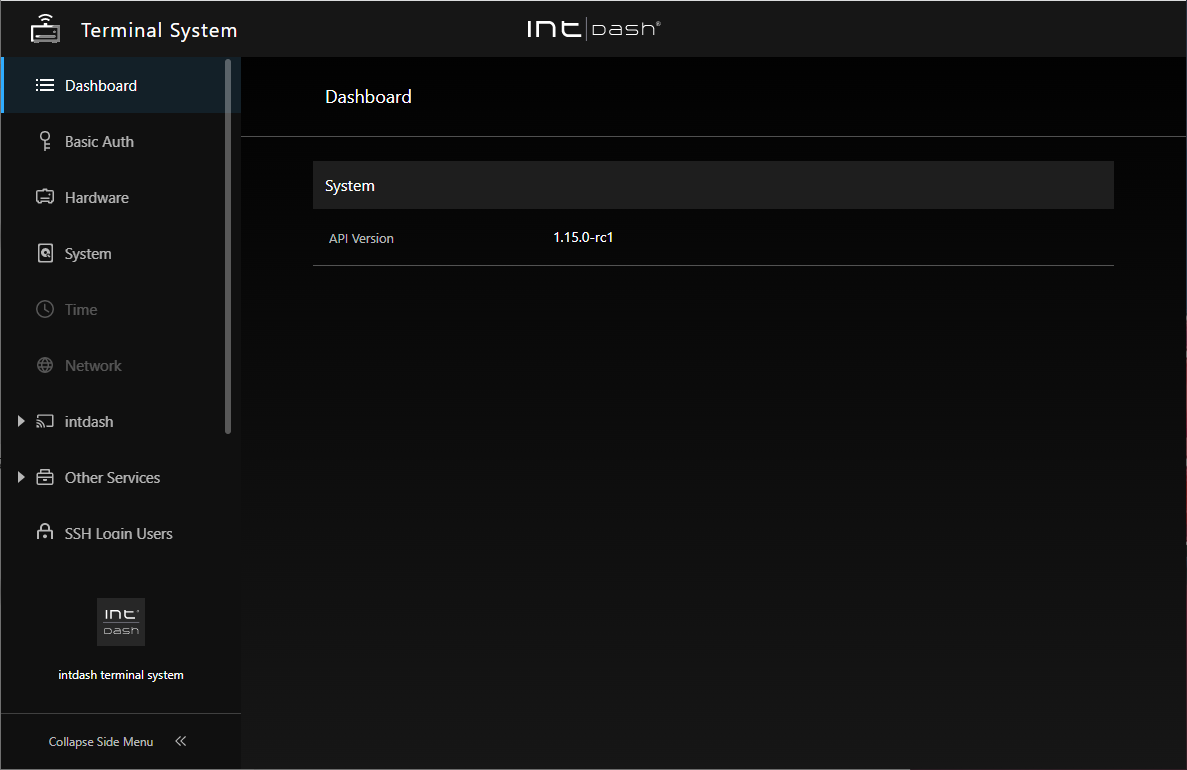
Fig. 59 Terminal System dashboard#
3.3. Set up the network to send measurement data#
Set up the network to send the measurement data to the intdash server.
As a typical example, this section describes a case in which the built-in LTE module is used to communicate over a cellular connection.
Open the [Network] menu.
Click [Create Network Setting] to create settings for your cellular connection.
Name: The name of the network setting. Enter any descriptive name.
Enabled: Turn on.
Type: Select [Cellular].
NIC: Select the network interface for the built-in LTE module (usually only one is displayed).
APN, Authentication Method, Username, Password: Enter the information that came with your mobile SIM card.
MTU Automatically Configured: Turn on.
Band Preset: Select the name of the antenna connected to the Terminal System.
Click [Create].
Operate the power switch to restart the Terminal System.
Note
See Connect to the network for more details on the settings.
3.4. Configure the destination (intdash server)#
Select [intdash] menu > [Connection / Auth] and set the following.
intdash server URL
Edge UUID (UUID of the edge account assigned to this Terminal System)
Client secret (the client secret of the edge account above)
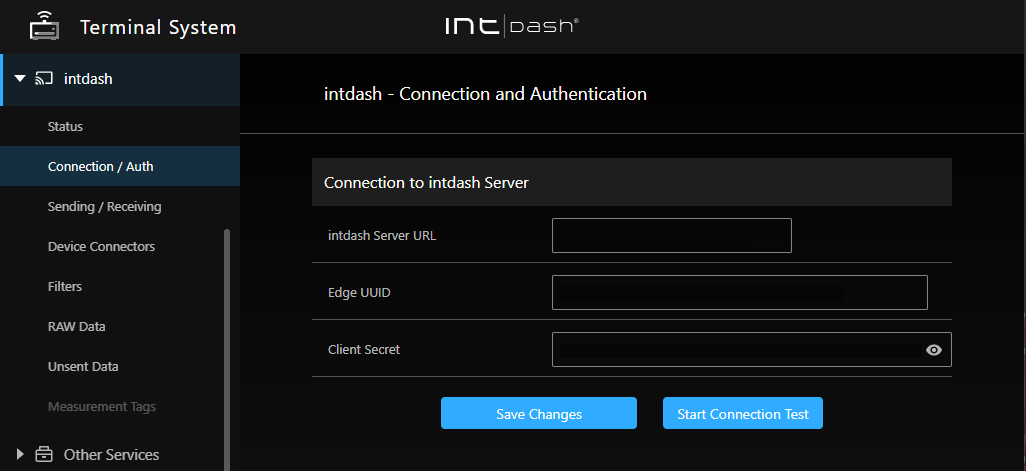
Fig. 60 Setting up authentication information#
Note
For more information on how to set this up, see Configure settings for sending data to the server ([intdash] > [Sending / Receiving]).
Click [Save Changes].
Click [Start Connection Test], and then click [Test Connection].
When the edge name is displayed, the connection is successful.
Note
You will see a message requesting you to restart the intdash service to reflect the settings, but restart it after configuring the device connector as described below.
3.5. Configure data acquisition#
Configure device connectors to acquire data from devices connected to the Terminal System (CAN-USB Interface, GPS devices, cameras, etc.).
The Device Connector is a software that retrieves data from devices connected to the Terminal System.
Create the device connector settings required for data acquisition.
In the [intdash] menu > [Device Connectors], click [Create Device Connector], set the channel, device type, and other items, and then click [Create].
Note
See Acquire data from devices (Device Connectors) for more details on the settings.
Restart the intdash service by clicking [Restart] in the [intdash] menu > [Status].
intdash service is software that acts as the edge node of intdash. When the intdash service is started, the device connector is also started and data acquisition begins. If you are connected to the Internet, data transmission will also start.
This completes the settings for acquiring data from the CAN-USB Interface, GPS device, etc. and sending it to the intdash server.
The following sections describe each setting in detail.